Short answer
Before the first hard freeze, shut off the water, get it out of every pipe, valve and timer, and bring hose timers and the parts at the faucet indoors. Most faucet kits and drip kits empty through their drain valves and end caps; a full in-ground system with valves needs a compressed-air blowout, which Rain Bird, Rachio and Orbit all suggest hiring an irrigation pro for. The mistake to avoid is blowing air through the backflow preventer, which can melt its seals.
- Time: about an hour for a faucet kit, drip kit or hose timer (our estimate); longer for a full system, which is cleared zone by zone.
- Difficulty: easy for faucet kits, drip and hose timers; Rain Bird, Rachio and Orbit suggest a professional for full-system blowouts.
- Rough cost: little beyond foam pipe insulation, unless you hire a pro for the blowout or need a large enough air compressor.
This is for the northern US and Canada, where the ground freezes every winter. Water expands by about one-eleventh as it turns to ice, which Colorado State University Extension says is enough to split pipes, valves and sprinkler bodies. Rachio’s advice is to finish before the first hard freeze and, if you are hiring a pro, to book early, because they get busy each fall. The steps cover sprinkler system kits, drip kits, hose timers and full systems with a controller, then spring start-up.
What you’ll need
- The guide or manual for each kit, timer and controller (our product pages link them).
- A bucket and a towel, and a dry, heated shelf indoors for timers and faucet parts.
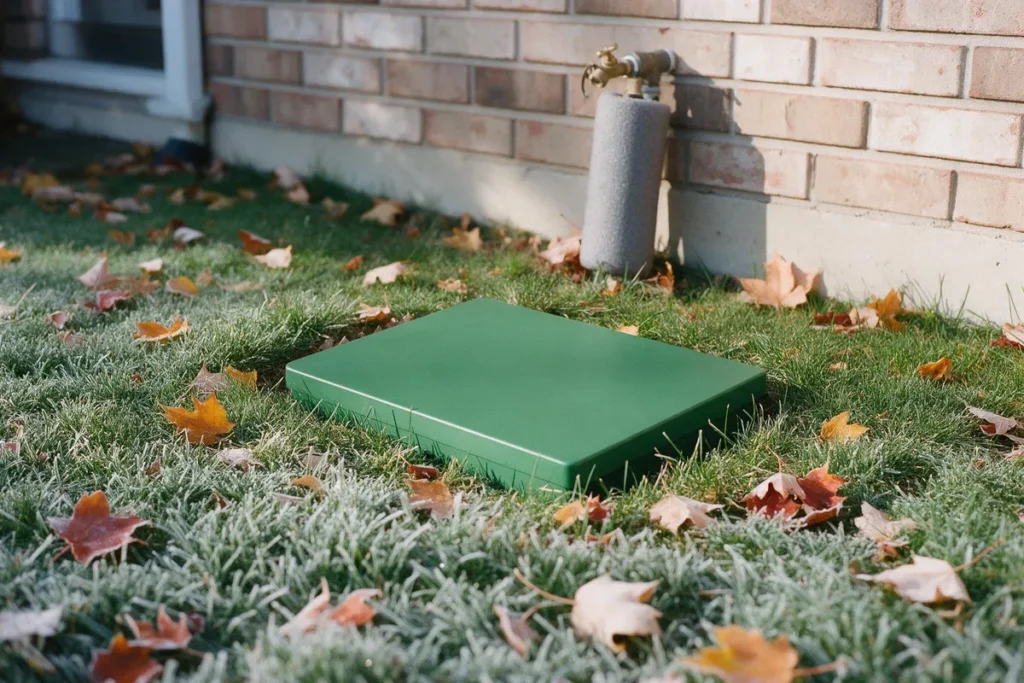
- Foam pipe insulation for the main shut-off, above-ground pipe, valves and backflow preventer.
- For a full system: the key for your stop-and-waste valve, and either a booked irrigation pro or a compressor sized to your zones with a blowout fitting after the backflow preventer.
Step 1: Shut off the water
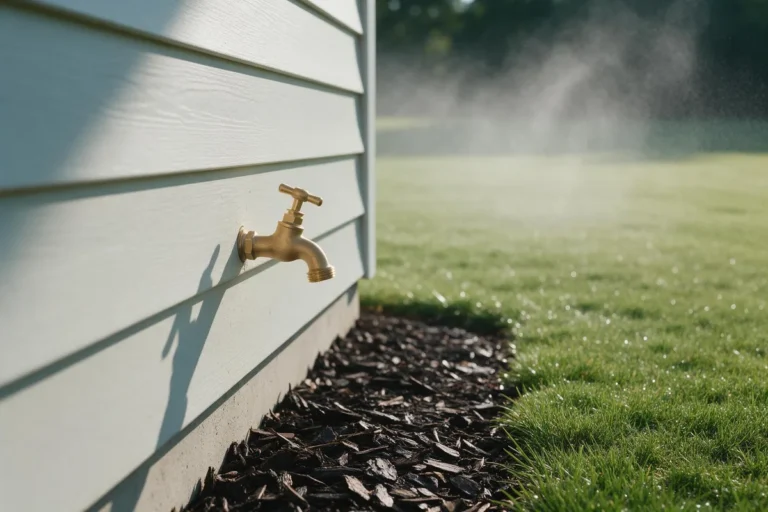
For anything on an outdoor faucet, take off the hose and attachments and turn the faucet off. EPCOR’s frozen-pipe advice for Edmonton is a good checklist for Canadian homes: disconnect hoses and turn off outdoor faucets, shut off the irrigation timer and its main valve near the meter, and insulate the irrigation main box and any parts above ground.
A full system usually has its own shut-off between the house supply and the backflow preventer. Colorado State Extension notes it may be a stop-and-waste valve buried as much as 5 ft down, turned with a long key, and warns not to force it.
Step 2: Drain faucet kits and drip kits
Rain Bird 32ETI. Take the timer off the faucet, drain it and store it indoors. Rain Bird says the buried tubing needs nothing more if the two automatic drain valves sit at the low end of each run, with the tubing sloping down to them; if the lines need more, it suggests an irrigation contractor for a blowout. One owner we read says the drains make winter little more than shutting off the water. The 32ETI is our top kit pick, partly for this.
Rain Bird 32HE and the Orbit kits. Rain Bird calls the 32HE self-draining: its filtered drain valves empty the lines after each use, so unhook and store the hose. Orbit’s 50020 and 50021 have auto drain valves too, but for all its in-ground kits Orbit recommends blowing the water out of buried lines and suggests a professional for it. Their timers come off the faucet and go indoors, as in step 3.
Drip kits. Colorado State Extension keeps it short: detach the head assembly (a portable timer, the backflow device, filter and pressure regulator) and store it indoors, then uncap the main line at its low end to drain it and cap it again. Poly main line isn’t damaged by freezing, and most emitters can stay outdoors. On the Rain Bird Landscape & Garden Drip Kit, the end closure pulls off for this. Raindrip adds lifting the tubing to drain what’s left. Colorado State warns that a system with many right-angle fittings or check valves can still hold water that only air will clear; if yours does, treat it like step 4.
Step 3: Bring hose timers indoors
Every hose timer we track is rated to work only from 32 F or above, and every maker that gives winter advice says to bring it in. Orbit’s routine works for any of them: take the timer off, shake out the water, take the batteries out, and store it somewhere dry and heated. What each maker adds:
- Orbit B-hyve XD (1- and 4-outlet): also set Timer Run Mode to Off in the B-hyve app so it keeps its programs but runs none. Orbit’s warranty excludes freeze damage.
- Rachio Smart Hose Timer: Rachio says the valve must not freeze, so bring it in; the Wi-Fi hub lives indoors anyway.
- Rain Bird HET100 and HET200: take them off before winter and remove the old batteries; Rain Bird says to start each season with fresh ones.
- Eve Aqua: Eve says to unscrew it, clean it, open the valve, remove the batteries and let it dry before storing.
- Netro Pixie 2: we found no winter steps from Netro. Its manual rates it from 32 F up and says never to open its sealed battery, so bring it in whole and ask Netro how best to store it.
The B-hyve XD 1-outlet is our top hose-timer pick; the rest are in the best hose timers.
Step 4: Full systems: drain or blow out every zone
A system with buried valves is the hard case. Colorado State Extension doesn’t trust gravity drain valves on buried pipe, because pipe shifts over time and low spots keep water, and it says electric valves need compressed air to clear the water sitting on their diaphragms. Rain Bird lists manual drains, automatic drains or a blowout, and because of the safety risks recommends a local irrigation specialist. Rachio says a blowout can be done yourself with a compressor but recommends a pro if you have any questions, and Orbit suggests a professional too.
Safety: compressed air can injure you and damage the system. Colorado State Extension’s limits: keep air at 40 to 80 psi, no more than 80 psi for rigid PVC and 50 psi for poly, and no more than your nozzles are rated for, or they can blow off. Never blow air through a pressure vacuum breaker (PVB) or reduced-pressure (RP) backflow device: the heat can melt its seals. Connect at a blowout fitting downstream of it. Clear one zone at a time, in two short cycles, and stop once a zone runs dry, because air through dry pipe builds heat. Wear eye protection. If any of this is new to you, hire an irrigation professional.
For anyone doing it themselves, Colorado State Extension’s fact sheet sets out the order:
- Turn off the water supply to the system, and drain and bring in any pump.
- Size the compressor from each zone’s flow: gallons per minute divided by 7.5 gives the cubic feet per minute of air needed. Too small takes longer; too large can over-pressurize unless it has a regulator.
- Close the ball valve just downstream of the backflow device, connect the compressor at the blowout fitting after it, start one zone at the controller, and clear the zones one by one.
- Afterwards, work the backflow device’s ball valves and test cocks back and forth and leave them half open for winter, so trapped water can’t split it. An RP device has two check zones that each need draining; follow the fact sheet or leave it to your backflow tester.
Then insulate the main shut-off, any above-ground pipe, the valves and the backflow preventer, as Rain Bird advises, without covering any vents or drains. How deep your pipe sits, and which pipe it is, also shapes this job: see how deep to bury sprinkler pipe.
Step 5: Put the controller into its winter mode
Once the water is out, stop the controller from calling for it, using the mode its manual names. Rachio and Colorado State Extension agree on one thing: leave it plugged in. Rachio wants the controller online for firmware updates, and Colorado State says the transformer’s heat helps keep moisture and corrosion out.
- Rachio 3: turn on Hibernation Mode under the controller’s Settings tab in the app. It pauses every schedule at once, so you don’t disable them one by one.
- Orbit B-hyve 6-zone: turn the dial from Auto to Off; programs stay in memory. B-hyve hose timers use Timer Run Mode Off in the app.
- Rain Bird ESP-TM2: turn the dial to OFF, which stops automatic watering and keeps the programs. For its controllers generally, Rain Bird suggests rain mode, or off and reprogramming in spring.
- Hunter X2: Hunter’s feature list, as a retailer prints it, includes an off-season setting that suspends watering for up to 99 days; check the manual for how your model does it.
The Rachio 3 is our top smart controller; the others are in the best smart sprinkler controllers.
Step 6: Start up again in spring
- Full systems: close the backflow device’s test cocks and ball valves before the water goes on, then open the valves slowly to avoid water hammer (Colorado State). Rachio’s order: open the main valve less than a quarter turn until the rush of water goes quiet, open the backflow valves slowly, test each zone, then switch Hibernation Mode off.
- Backflow test: some utilities want one each spring. Calgary requires an irrigation backflow test every year when the system is turned on, by a City-registered tester, and Denver Water tests irrigation assemblies when the water is turned on. Ask your water utility; our backflow explainer has more.
- Drip: flush the main line, clean the filter, cap the line, pressurize it and check every emitter (Colorado State).
- Timers: fit fresh batteries and push the battery tray fully home; set a B-hyve timer back to Auto in the app. Orbit also says to replace the B-hyve 6-zone’s clock battery every year.
- Faucet kits: run the timer once and check that every head pops up fully and sprays evenly, as the 32ETI guide asks after installation.
Troubleshooting
- A puddle in the lawn after start-up: Rain Bird says it can mean nicked or split tubing. Dig around it, cut out the damage and join the ends with a 1/2 in barbed coupling.
- A hose timer won’t water after storage: with the faucet off, Orbit suggests taking the battery tray out for 30 seconds and refitting it fully, then new batteries if that fails.
- Heads stay down or fall short: often pressure or flow, especially if heads were added. Check with our guide to measuring water pressure and flow.
How we put this together
- Read the winter instructions in the manuals and help pages for every kit, timer and controller we track.
- Took the blowout steps and warnings only from Colorado State University Extension, and checked them against Rain Bird’s and Rachio’s advice.
- Added utility guidance from Edmonton, Calgary and Denver, and what owners we read report about winter.
What we don’t do: winterize systems ourselves to test these steps. Follow your own manuals and local utility first.
Winterizing questions
When should I winterize my sprinkler system?
Before the first hard freeze. Rachio puts the blowout before then, and Raindrip says to bring timers in before temperatures reach 32 F. If you are hiring a pro, book early: Rachio notes they get busy each fall. Water left in the system can split pipes, valves and timers.
Can I drain my sprinkler system instead of blowing it out?
For a faucet kit with drain valves at the low points, yes: Rain Bird says the 32ETI’s buried tubing needs nothing more. For a system with buried valves, Colorado State Extension says no, because drains leave water in low spots and on valve diaphragms. Rain Bird lists drains as an option there but recommends an irrigation specialist.
What air pressure should I use to blow out sprinkler lines?
Colorado State Extension gives 40 to 80 psi, with 80 psi the most for rigid PVC and 50 psi for flexible poly, and no more than your nozzles are rated for. Air volume matters as much as pressure: size the compressor at zone gallons per minute divided by 7.5 for cubic feet per minute. If that is unfamiliar, hire a pro.
Should I unplug my sprinkler controller for the winter?
No. Rachio advises against unplugging so the controller can receive firmware updates, and Colorado State Extension says the transformer’s warmth helps protect the controller from moisture and corrosion. Put it in the winter mode its manual names instead: Hibernation Mode on a Rachio, Off on the B-hyve or ESP-TM2 dial, or rain mode on other Rain Bird models.
Do drip lines need to be blown out for winter?
Usually not. Colorado State Extension says poly drip line isn’t damaged by freezing and most emitters can stay outdoors: bring the head assembly in and uncap the low end to drain the line. The exception is a system with many right-angle fittings or check valves, which can trap water that only compressed air clears.