Short answer
With all other water off, screw a pressure gauge onto the outdoor faucet nearest your water meter and open it: that reading is your static pressure in psi. Then time the fully open faucet filling a 5-gallon bucket; 300 divided by the seconds is your flow in gallons per minute. The common mistake is treating those numbers as what your sprinklers will get: tubing, fittings, a timer and any slope all take some away.
- Time: about 15 minutes, plus a second pressure reading at the hour you plan to water
- Difficulty: Easy
- Rough cost: just a hose-thread pressure gauge if you don’t own one; the flow test needs only a bucket and a timer
Most kits and hose timers we track list the pressure they need, and the lawn kits a minimum flow too: 40 to 75 psi and at least 6 gallons a minute for Rain Bird’s, at least 50 psi and 5 gallons a minute for Orbit’s 50020 and 50021. Get it wrong and the kit still goes in, but it won’t work properly. Among owners of Rain Bird’s 32ETI we read, the main complaint was the water supply, not the parts: heads that fall short or stay down when a zone has more heads than the faucet can feed.
Take both numbers before you compare the sprinkler system kits we track or our picks of the best DIY sprinkler kits, then use the flow figure to work out how many heads each zone can run.
What you’ll need
- A hose-thread water pressure gauge. It screws onto a garden-hose faucet; hardware stores sell them, and Orbit puts one in the box with its 50020 and 50021 kits.
- A 5-gallon bucket (about 19 liters) and a stopwatch or phone timer.
- Pencil and paper for each reading, the time and which faucet you used.
- For a full in-ground system only: a piece of string at least 5 inches long and a tape measure, to size the water service line.
Step 1: Choose the faucet and the time
Rain Bird and Orbit both say to measure at the outdoor faucet nearest the water meter. If you’re planning a hose-faucet kit, test the faucet you’ll connect it to as well, since that is the supply the kit will run from.
Rain Bird notes that household pressure rises and falls during the day, so take your main reading at about the time your system will water. Its Landscape Irrigation Design Manual designs to the lower summer daytime pressure, the worst case. If local rules set your hours, measure within them: during Metro Vancouver’s Stage 1 restrictions (May 1 to October 15), for example, automatic sprinklers may run only from 5 to 7 a.m. Rules change, so check your own utility’s.
Then turn off all other water, inside and out: taps, the washing machine and dishwasher, hoses and any irrigation. Rain Bird’s method assumes nothing else is running. On a well, Rain Bird says to use the pressure and flow figures from your pump’s manual or dealer instead.
Step 2: Read the static pressure
Screw the gauge on by hand and open the faucet all the way. With no water flowing past the gauge, the number you see is the static pressure, which Rain Bird’s design manual uses as the starting point for every calculation. Write it down with the time. (If your gauge reads in kilopascals, 40 psi is about 276 kPa and 60 psi about 414 kPa.)
Rain Bird says most automatic sprinkler systems need 40 to 60 psi. Opening the faucet only part way won’t change the reading: Orbit points out that it leaves the static pressure in the line the same. No gauge? Rain Bird says your water company can tell you the pressure; if it quotes a range, plan on the low end.
Step 3: Time a 5-gallon bucket for flow
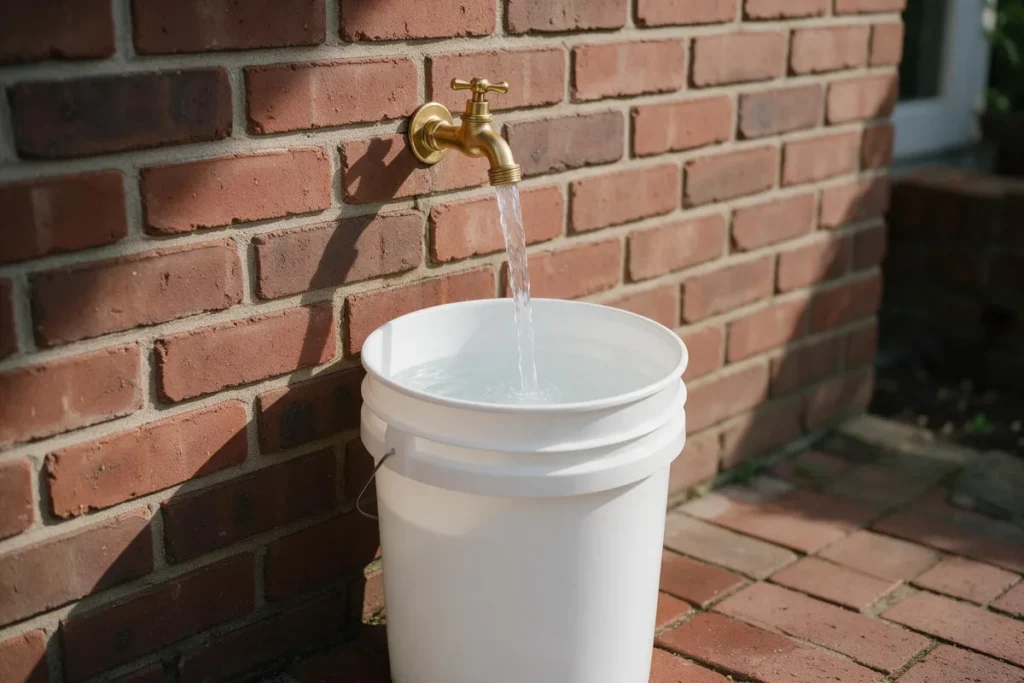
Take the gauge off, open the faucet fully into the empty bucket and time how long it takes to fill. Rain Bird’s formula: 300 ÷ seconds = gallons per minute (gpm), where 300 is 5 gallons times 60 seconds.
- 30 seconds: 10 gpm.
- 50 seconds: 6 gpm, the minimum for Rain Bird’s lawn kits.
- 60 seconds: 5 gpm, the minimum for Orbit’s 50020 and 50021.
- 75 seconds: 4 gpm, too little for either brand’s lawn kits but plenty for drip.
Fill it twice, and if the times differ, plan with the slower one. With a 20-liter pail, common in Canada, divide 317 by the seconds instead (20 liters is about 5.3 US gallons). Drip parts are rated in gallons per hour (gph), so Colorado State University Extension’s drip irrigation fact sheet works the test as gallons ÷ seconds × 3,600: a bucket that fills in 30 seconds is 600 gph.
Step 4: For a full system, note the meter and service line
A hose-faucet kit needs only the first two numbers. For a valve-based system tapped into the main line, Rain Bird and Orbit also ask for the water meter size, usually stamped on the meter (5/8, 3/4 and 1 inch are common; your utility can tell you), and the service line size, the pipe from the meter to the house. Wrap a string once around that pipe where it is exposed, mark the overlap, measure the string and look the length up in Rain Bird’s planning guide.
Safety: don’t dig to reach the service line. Measure it where it is already exposed, such as where it enters a basement, or ask your utility. Any digging needs a locate request first: contact 811 in the US or use Click Before You Dig in Canada, and wait until every utility has marked its lines.
The two sizes matter because Rain Bird’s design manual doesn’t take the bucket figure on trust: it also caps irrigation flow at 75% of the meter’s maximum safe flow and at what the service line can carry at a safe speed, and designs to the lowest limit. Rain Bird’s homeowner design service or an irrigation contractor can run those charts for you.
Step 5: Allow for what tubing, fittings and slope take away
Both tests are taken at an open faucet with nothing attached, so they show the most your supply can give, not what a working zone receives. Rain Bird’s design manual calls the difference friction loss: every pipe, fitting, valve, meter and backflow device resists the water, so the pressure while water flows ends up below your static reading, and more flow through smaller pipe loses more. In the manual’s example, 10 gpm through 100 feet of 1/2-inch Schedule 40 PVC loses about 30 psi; through 1-inch pipe, about 2.4 psi.
Height costs pressure too: about 0.43 psi per foot of rise by the manual’s figures, which Colorado State University Extension rounds to 5 psi per 10 feet. CSU’s summary is the one to remember: long pipe runs leave low pressure at the far end, and the fixes are smaller zones, fewer parts on the line or bigger pipe. The kit makers build the same allowance in:
- Rain Bird’s 32ETI guide says that if the bucket test shows under 8 gpm, fit the kit’s timer and test again, to be sure the flow stays above the 6 gpm minimum.
- The same guide allows no more than three heads on one length of tubing and 6 feet of rise from the faucet to any head, and Rain Bird says extra heads or tubing can shorten the throw or stop heads turning and popping up.
- For drip, CSU treats 75% of the bucket flow as the most one zone should use.
So treat the bucket number as a ceiling and plan each zone to stay under it.
Step 6: Match your numbers to a kit or a plan
Compare your readings with what each kit asks for at the faucet. These are the makers’ figures:
- Rain Bird 32ETI and 32HE lawn kits: 40 to 75 psi and at least 6 gpm; the 32ETI’s longer-throw spare nozzles need at least 8 gpm.
- Orbit 50020 and 50021: at least 50 psi and 5 gpm. Orbit states no figures for its app-run 50024.
- Rain Bird Landscape & Garden drip kit and DripWorks’ small garden bed kit: at least 15 psi, regulated to 25 and 30 psi respectively.
- DIG’s GE200 and ML50 drip kits: up to 100 psi coming in, regulated to 25 psi.
- Hose timers: 15 to 90 psi for the timer in the 32ETI box; 10 to 100 psi for Orbit’s B-hyve XD hose timers.
Too low? A faucet below a lawn kit’s minimum won’t run it well. The options are fewer heads per zone (Orbit’s 50021 splits twelve heads across two timer outlets), drip for beds and borders (CSU suggests drip parts rated for 15 to 20 psi where pressure is low), or a valve-based system on the main line. Our guide to choosing between a hose-faucet kit and a full system walks through that choice.
Too high? Above a kit’s maximum (75 psi for Rain Bird’s lawn kits), Rain Bird says sprinklers mist or fog instead of throwing water where it should land. Orbit suggests a pressure reducer, and Rain Bird offers regulators at the valve and pressure-regulating spray and rotor bodies.
Drip, whatever the reading, needs a regulator and a filter. Clemson Cooperative Extension puts drip tubing and emitters at about 30 psi (drip tape about 10), warns that emitters can pop off above 40 psi, and calls for a 150-mesh filter (200 for some emitters); a household sediment filter is no substitute. Spray heads and rotors normally need neither. Most faucet drip kits in our drip irrigation kit comparison include both.
Then size your zones: add up the nozzle flows on each zone and keep the total under your supply. Six 32ETI rotors with their 0.75 gpm nozzles use 4.5 gpm, inside the 6 gpm Rain Bird asks for. Our guide to how many sprinkler heads per zone works a whole yard through.
Before you connect anything: Rain Bird’s lawn kit guides ask you to confirm the faucet has a hose bibb vacuum breaker or other anti-siphon device and to check local plumbing codes. The device your town accepts varies, so ask your water utility, and read whether you need a backflow preventer.
Troubleshooting
- Heads fall short or don’t pop up fully: the zone wants more water than the faucet supplies. Check the faucet is fully open and the timer’s screen is clear; Orbit also lists a screen washer fitted backwards and a cross-threaded timer as causes of low pressure. Don’t add heads to a kit that isn’t designed for them.
- Drip fittings or emitters blow off: Rain Bird’s drip guidance says to check the regulator is fitted and every fitting is pushed fully home.
- The hose timer won’t water: Rain Bird’s timer guide points to a faucet not fully open, a clogged screen filter or a supply under 15 psi.
How we put this guide together
- Took the method from Rain Bird’s planning and zone-sizing pages and Orbit’s help center, which agree on the gauge and bucket tests.
- Took the friction, height and flow-limit figures from Rain Bird’s design manual and Colorado State University Extension, and the drip regulator and filter figures from Clemson Extension.
- Checked each kit’s figures in the maker’s current install guide or product page, and read owner reports for what goes wrong. The samples are small, and we say so.
What we don’t do: measure water pressure in a yard or test the kits ourselves. Every figure here is the maker’s or an extension service’s, and we say whose.
Water pressure and flow questions
What is good water pressure for a sprinkler system?
Rain Bird says most automatic sprinkler systems need 40 to 60 psi. Kits set their own ranges: 40 to 75 psi for Rain Bird’s 32ETI and 32HE, at least 50 for Orbit’s 50020 and 50021. Drip needs far less; faucet drip kits work from about 15 psi and regulate anything higher down to 25 or 30. Measure at the time of day you’ll water, since pressure changes.
Can I find out my water pressure without a gauge?
Yes: Rain Bird says your water company can tell you. Ask for the lowest figure it expects at your address in summer, during your watering hours, since Rain Bird’s design manual designs to that worst case. You still need the bucket test, because no utility figure tells you how much water your own faucet and pipes deliver.
Will a hose timer cut my flow?
A little, and the kit makers expect it. Orbit says a small pressure drop after fitting a hose timer is normal; a bigger one usually means the screen washer is in backwards or the timer is cross-threaded. Rain Bird’s 32ETI guide asks you to repeat the bucket test with the timer fitted if the first result was under 8 gpm.
I’m on a well. How do I measure?
Rain Bird says to use your pump’s pressure and flow capacity, from the pump owner’s manual or your well and pump dealer, rather than relying on a faucet test. Those figures set the limit for any sprinkler or drip design on a well. If you’re given a range, plan with the lower end, as you would with a utility’s pressure figure.